

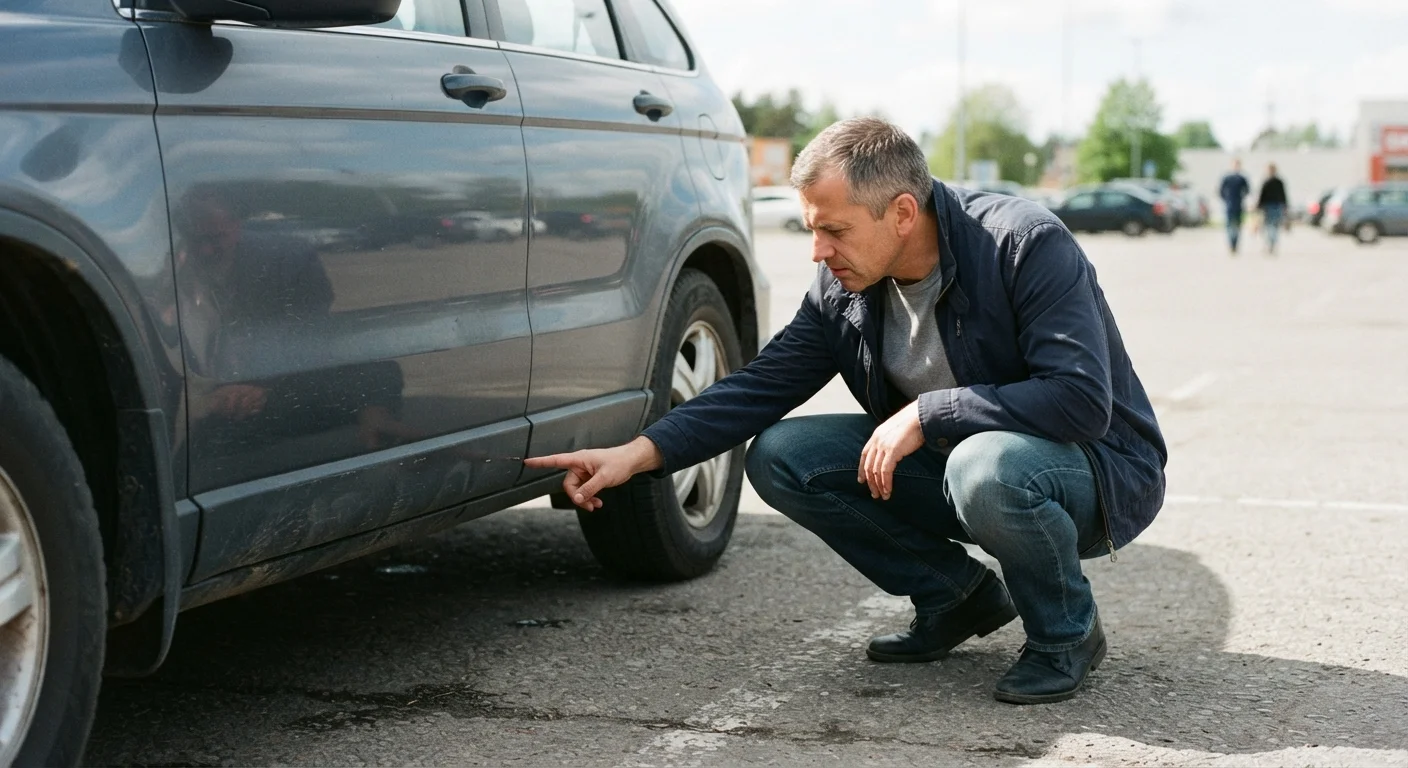
Why the Exterior Tells the Whole Story
Most buyers are tempted to open the driver's door and settle in before they've taken a proper look outside. Resist that urge. The exterior of a used car is a record of its history — accidents, cheap repairs, neglected rust, and flood damage all leave marks on the body if you know what to look for.
This walk-around guide is designed for anyone who doesn't have a mechanical background. You don't need specialist tools. You need daylight, a little time, and a systematic approach. For a broader preparation guide, see what every senior buyer should know before viewing a used car.
Once the exterior check is done, the interior and engine bay each deserve their own attention. This article focuses purely on what happens before you open the door.
What you will need
What You'll Need
The good news is that a thorough exterior inspection requires very little equipment. The items below are all you need to do the job properly.
Bright flashlight or phone torch
Illuminate wheel arches, door sills, and the underside edge of panels where rust often starts.
Inspection mirror (small, telescoping)
Lets you see beneath the sill edges and behind wheel arches without crouching uncomfortably.
Notepad or checklist printout
Record damage, questions, and panel-by-panel findings so nothing gets forgotten.
Magnet (small, wrapped in cloth)
Body filler is non-magnetic; a magnet that doesn't attract to a panel may indicate filler beneath the paint.
If you'd like a structured reference to bring with you, the pre-purchase used car inspection checklist covers exterior, interior, engine, and test drive in one printable sheet.
The Step-by-Step Walk-Around
Work around the car in a consistent direction — most people find it easiest to start at the driver's front corner and move clockwise. This prevents you from doubling back and missing panels.
Choose the Right Setting and Light
Arrange to view the car outdoors in natural daylight. Direct sunlight at a low angle — morning or late afternoon — is ideal for revealing paint inconsistencies and panel waves that flat midday light can hide. Never agree to inspect a car only in a dim garage or at night.
Step Back and Assess the Overall Stance
Before you get close, stand 10–15 feet away from each end of the car. Look at whether the vehicle sits level — a car that sags on one corner may have suspension or structural damage. Also check that the body lines running along the doors and fenders are straight and consistent from front to back.
Examine Each Panel for Paint Consistency
Walk slowly along each side of the car, looking at the paint sheen at a shallow angle. Different panels should share the same colour depth and texture. A patch that looks slightly different in tone, gloss, or texture compared to adjacent panels often indicates a respray, which may follow a repair. Also check the roof, hood, and trunk lid.
Check Panel Gaps
Gaps between hood and fenders, between doors and pillars, and between the trunk lid and rear body panels should be uniform in width all the way along. Uneven or inconsistent gaps — wider on one side than the other — suggest a panel has been replaced or re-aligned after a collision. Check both sides of each gap, not just the top.
Inspect Wheel Arches and Sill Edges
Crouch down and use your flashlight to look inside each wheel arch and along the bottom edge of the door sills. These are the areas most exposed to road salt and moisture, and the first places rust typically appears. Look for bubbling paint, flaking metal, or patches of newer-looking undercoating that may be concealing damage.
Check Glass, Lights, and Rubber Seals
Look at all glass panels for chips, cracks, or star fractures — even small windshield chips can spread. Check that all light lenses are clear and uncracked. Run a finger along the rubber seals around doors and windows; brittle, cracked, or compressed seals can indicate age or poor storage. Overspray on rubber seals is a sign of a respray done without proper masking.
Note Everything Before You Go Inside
Before opening the door, write down every finding on your checklist or notepad — even things that seem minor. Small issues can add up, and your notes will help you ask the right questions, negotiate accurately, or decide whether to walk away. Then continue with the interior and under-the-hood checks.
Take Your Time — Sellers Expect It
A thorough exterior walk-around takes 10–15 minutes. Don't feel rushed. A private seller or reputable dealer will expect and respect a careful buyer. If anyone pressures you to hurry through the inspection, that's worth taking seriously as a caution sign.
After completing the exterior, don't stop there. The guide to rust, rot, and body repair goes deeper on distinguishing surface blemishes from structural problems. And the interior inspection guide covers what to look and sniff for once you're inside.
Common Red Flags and What They Signal
Not every imperfection is a deal-breaker, but some patterns reliably point to bigger problems.
- Wavy or rippled panels: Often indicate body filler used to smooth over dent or collision damage. Run your palm flat along the surface — filler feels slightly different in temperature and texture compared to steel.
- Overspray on rubber seals or plastic trim: Paint on door rubbers or window seals suggests the car was repainted without full disassembly, a sign of a quick, low-cost repair job.
- Mismatched panel gaps: Gaps between the hood and fenders, or between doors and the body, should be even. Inconsistency usually means a panel was replaced or re-hung after a collision.
- Orange rust bubbles under paint: Bubbling from beneath the surface means rust has already taken hold in the metal. This is more serious than surface rust on trim pieces.
- Fresh undercoating in isolated spots: Can be used to conceal rust on wheel arches and sill edges. If it looks newer than the surrounding area, that's worth noting.
Rust in Structural Areas Is Serious
Surface rust on trim, exhaust tips, or brake rotors is common and often minor. Rust on the sills, floor pan, inner wheel arches, or chassis rails is a different matter — it can affect the structural integrity of the vehicle and may be very costly to repair properly. If you spot significant structural rust, consider walking away or having a qualified mechanic assess before proceeding.
For a rundown of other common oversights that end up costing buyers later, see inspection mistakes that cost buyers later.
This article is for general informational purposes only. It does not constitute professional mechanical or financial advice. Always consider having a used car independently inspected by a qualified mechanic before purchase.
The content on this site is for informational purposes only and is not a substitute for professional advice. Always consult a qualified professional for guidance specific to your situation.