

Summary
28 items · 45–90 minutes per vehicle
How to Use This Checklist
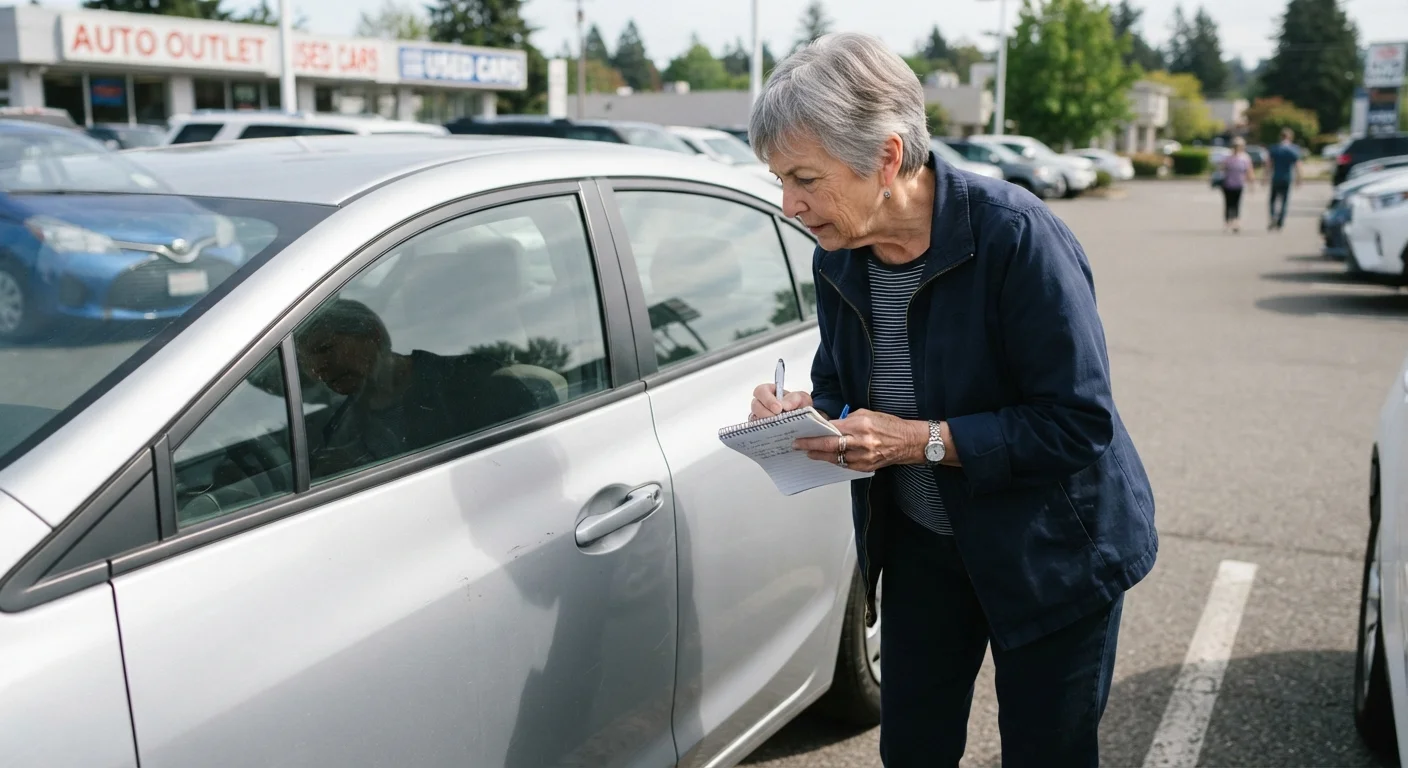
This checklist is designed to be printed and taken with you each time you view a used vehicle. Work through each section in order — exterior first, then interior, under the hood, tyres, and finally the test drive. Mark each item as you go so nothing gets overlooked in the moment.
Keep in mind this walk-around is your first filter. It helps you spot obvious problems and ask sharper questions. It does not replace a professional inspection. Once a car passes your own review, arranging a mechanic's check is a smart next step — see why a mechanic's inspection is worth the cost for what that process typically involves.
For a broader look at costs you should account for before making an offer, the used car cost checklist covers fees, insurance estimates, and other expenses beyond the sticker price.
Printed copy of this checklist
Lets you mark off each item as you go without relying on memory or a phone screen.
Tread depth gauge
Gives you an accurate tyre tread measurement rather than a visual estimate.
Small flashlight or phone torch
Helps you examine the engine bay, underside, and interior corners in shadowed areas.
Vehicle history report (e.g. from a licensed VIN check service)
Reveals recorded accidents, title issues, mileage discrepancies, and outstanding liens before you negotiate.
Magnet (small, wrapped in cloth)
Can help detect body filler used to hide rust or collision damage under paint, as filler won't attract a magnet.
The Inspection Checklist
Work through all five groups below, ideally in the order listed. If a seller pressures you to rush or won't allow a full inspection, treat that as a warning sign in itself. A trustworthy seller will give you the time you need.
Exterior
Interior
Under the Hood
Tyres and Brakes
Test Drive
Never Skip the Vehicle History Report
A seller may be honest, but they may not know their car's full history. Always run a VIN (Vehicle Identification Number) check through a licensed provider before or during your visit. The VIN is typically found on the dashboard near the windshield on the driver's side. A history report can surface undisclosed accidents, flood damage, odometer rollbacks, or an open lien — any of which could make a car a poor purchase regardless of how it looks in person.
For common warning signs and key questions to ask the seller, the practical inspection reference guide is a useful companion to this checklist. And if you want to understand how to act on what a professional mechanic's report tells you, how to use a pre-purchase inspection to protect yourself walks through that process step by step.
Avoid Viewing Cars in Poor Conditions
Never inspect a car at night, in heavy rain, or in a dimly lit garage. Poor lighting hides rust, paint mismatches, and fluid leaks that would be obvious in daylight. If a seller can only meet in these conditions, consider rescheduling. As noted in the pre-viewing preparation guide, arranging a daytime meeting in a well-lit location is one of the simplest ways to protect yourself.
A Rushed Seller Is a Red Flag
If you feel pressured to skip steps, make a quick decision, or skip the test drive, slow down. A legitimate private seller or dealer will allow you reasonable time to complete a thorough inspection. Feeling hurried is one of the most common conditions that lead to costly mistakes for buyers.
Avoid the common oversights that catch buyers off guard later — inspection mistakes that cost buyers later covers the most frequent slip-ups, from viewing in poor light to skipping the paperwork check.
This checklist is for general informational purposes only. It does not constitute professional mechanical, financial, or legal advice. Always consult a qualified mechanic before finalising any used vehicle purchase.
The content on this site is for informational purposes only and is not a substitute for professional advice. Always consult a qualified professional for guidance specific to your situation.