

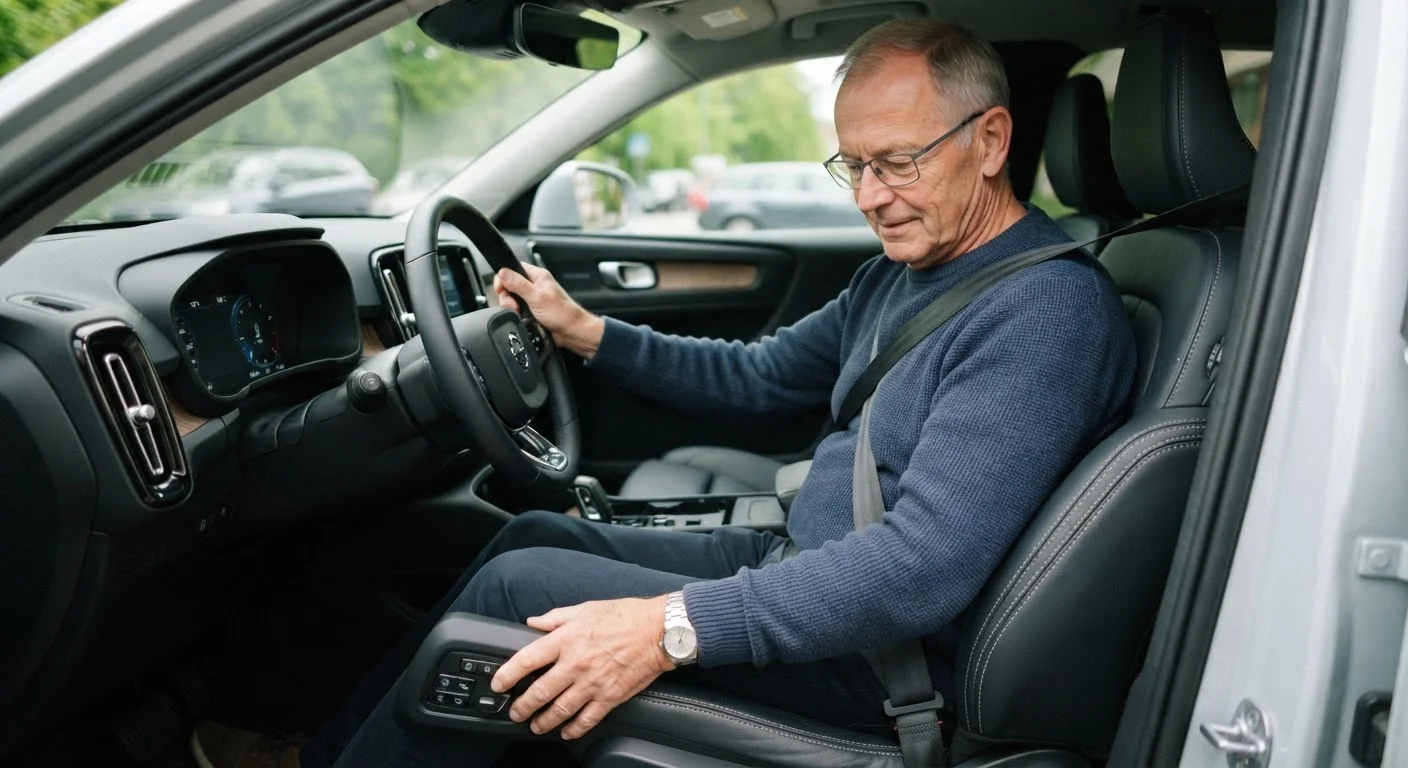
Why Driving Position Matters More Than Most Drivers Realise
Most drivers set their seat once — often when they first buy the vehicle — and rarely revisit it. Over time, small compromises compound: a seat that's slightly too low strains the neck when checking mirrors; a headrest too far back offers little protection in a rear collision; a steering wheel too close can place an airbag dangerously near the face.
For older drivers in particular, these issues are more consequential. Changes in spinal flexibility, hip mobility, and neck range of motion mean that a poorly adjusted seat doesn't just cause discomfort — it can limit the ability to turn and check blind spots, reduce reaction time, and contribute to fatigue on even short journeys.
This is part of a broader picture of ergonomic design that the complete overview of comfort and easy access for older drivers addresses in full detail. But the good news is that most vehicles — even older models — offer more adjustability than their drivers ever use.
What you will need
Before you begin, park on a flat, level surface and switch off the engine. Work through the steps below in order — each adjustment builds on the one before it.
Vehicle owner's manual
Identifies the location and function of all seat adjustment controls, including lumbar and power seat options specific to your model.
Seat cushion or lumbar support insert
Compensates for seat geometry that still doesn't feel right after all built-in adjustments are made.
Step-by-Step: Getting Every Adjustment Right
Adjust Seat Before Touching the Mirrors
Every mirror adjustment depends on where your body is seated. If you set your mirrors first and then move the seat, your mirror angles will be wrong. Always complete the full seat setup — height, distance, recline, and lumbar — before adjusting any mirror.
Set the Seat Distance (Fore-Aft Position)
Slide the seat forward or back until, with your back flat against the seatback, you can press the brake pedal to the floor with a slight bend remaining in your knee. Your leg should never need to be fully extended to reach the pedal.
For manual levers, locate the bar or handle under the front of the seat. For power seats, use the control panel typically found on the door sill or seat side.
Adjust Seat Height
Raise or lower the seat until your hips are level with or very slightly above your knees. Your thighs should rest evenly on the seat cushion without pressure behind the knees. Your eyes should sit roughly at the midpoint of the windscreen — not peering through the bottom third.
Higher seat positions are generally better for older drivers: they reduce hip flexion, make it easier to see over the bonnet, and ease entry and exit. See our guide to seat height and entry comfort for a deeper look at this factor.
Set the Seatback Recline Angle
Adjust the seatback so it supports your spine in an upright position with a slight natural rearward angle — typically around 100–110 degrees from the seat base. Your shoulders should rest comfortably against the seatback without you having to reach forward for the wheel.
Avoid the common habit of reclining further than this for comfort. The role of lumbar support accessories is worth understanding if back pain is driving you toward excessive recline.
Adjust Lumbar Support
If your seat has a built-in lumbar adjustment (a pump or dial on the seat side), increase it until the lower seatback makes firm but comfortable contact with the curve of your lower back. There should be no gap between the seat and your lumbar spine.
Correct lumbar support keeps your pelvis from tilting backward, which maintains the natural S-curve of the spine and reduces fatigue on longer drives.
Position the Steering Wheel
Tilt and extend (telescope) the steering column until the wheel sits in a position where your wrists rest on the top of the rim when your arms are nearly straight. Your elbows should have a soft bend during normal hand positions (typically 9 o'clock and 3 o'clock).
The wheel should not obscure the instrument cluster, and there should be at least 10–12 inches between the centre of the wheel and your breastbone — this is the minimum safe distance from an airbag. Our article on steering wheel adjustability and safety explains why this matters beyond comfort.
Set the Interior Rearview Mirror
Without moving your head from your normal driving position, adjust the interior mirror until you can see the full rear window with as little headliner as possible at the top of the frame. The mirror should require your eyes to move, not your head, to check it.
Set the Wing (Side) Mirrors
Adjust the driver's side mirror so your vehicle's body appears in only the innermost sliver of the mirror frame — approximately 10–15% of the glass. The remainder should show the lane beside you and the space behind it.
For the passenger side mirror, tilt it slightly downward as well as outward so you can see the road surface near the rear wheel — this is especially useful when parking or changing lanes.
If your field of view still feels narrow after correct adjustment, see our comparison of convex mirrors and wide-angle attachments for supplementary options.
Reclining Too Far Creates Hidden Risks
A seatback angled more than roughly 20–25 degrees from vertical means a seatbelt won't sit correctly across the chest, reducing its effectiveness in a collision. A heavily reclined position also increases head and neck injury risk from airbag deployment. If you recline for comfort, keep the angle moderate.
Use a Mirror-Check Routine Before Every Drive
Before starting the engine, spend 10 seconds confirming all three mirrors are still correctly positioned. Passengers sometimes nudge the interior mirror, and vibration can shift wing mirrors over time. A quick pre-drive check costs almost nothing and catches problems before they matter.
Once all adjustments are complete, sit normally, look ahead, and do a brief mental check: Can you reach the pedals with a soft knee bend? Does the seatback support your lower back without a gap? Can you see the full rear window in the interior mirror without tilting your head? Can you check both wing mirrors with eye movement alone?
If any answer is no, revisit the relevant step. It often takes two or three passes to get the full setup right, particularly if you've been driving with an incorrect position for years.
For tips on entering and exiting the vehicle comfortably once your position is set, see our guide to getting in and out with less strain. And if you use aftermarket comfort accessories, our article on common mistakes with in-car comfort accessories is worth reviewing to make sure those products aren't undermining your setup.
The content on this site is for informational purposes only and is not a substitute for professional advice. Always consult a qualified professional for guidance specific to your situation.