

Why This Simple Check Matters
Engine oil does several critical jobs at once: it lubricates moving metal parts, absorbs heat, and carries debris toward the oil filter. When the level drops too low — or the oil degrades past its useful life — those parts begin wearing against each other with nothing to cushion the friction. The result can be expensive internal damage that builds silently until something fails.
The good news is that catching a problem early is straightforward. A monthly dipstick check takes under five minutes and requires nothing more than a rag and a steady hand. It is one of the most direct ways any driver can protect a vehicle's long-term reliability. To understand more about what oil actually does inside your engine, see what every driver should know about engine oil.
This check is also a good entry point into broader routine car checks that every driver benefits from performing regularly.
Make It a Monthly Habit
Pick a recurring date — the first of each month works well — to pop the hood and run through a quick oil check. Pairing it with a regular task, like paying a bill or a grocery run, makes it easier to remember. Consistency is what catches problems early.
What You'll Need Before You Start
This task needs no special tools and no mechanical training. Before you begin, gather the basics and make sure conditions are right.
What you will need
Clean rag or paper towels
Used to wipe the dipstick clean between readings so you get an accurate measurement.
Flashlight or phone light
Helps you see into the engine bay clearly, especially in low-light conditions.
Replacement engine oil (correct grade for your vehicle)
Needed only if the level is low and you plan to top up; grade is listed in your owner's manual.
If at any point you are unsure whether what you're seeing — unusual oil color, mystery residue, or a level that keeps dropping — is within normal range, it is perfectly reasonable to have a mechanic take a look. Our guide on when to trust a mechanic and when to check it yourself can help you decide.
How to Check Your Engine Oil: Step by Step
Follow these steps in order. The entire process should take five to ten minutes on your first attempt, and less once it becomes familiar.
Never Check Oil on a Hot Engine
Opening the oil cap or handling the dipstick immediately after driving carries a burn risk — oil and nearby components can reach temperatures well above 200°F. Always let the engine cool for at least 10 minutes before checking. If the engine has been running for hours, wait longer.
Park on level ground and let the engine cool
Pull onto a flat surface — a driveway or level parking lot — and switch the engine off. Allow at least 10 minutes for oil to drain back into the pan and for hot surfaces to cool. Checking on a slope or while the engine is still warm gives you an inaccurate reading and carries a burn risk.
Open the hood and locate the dipstick
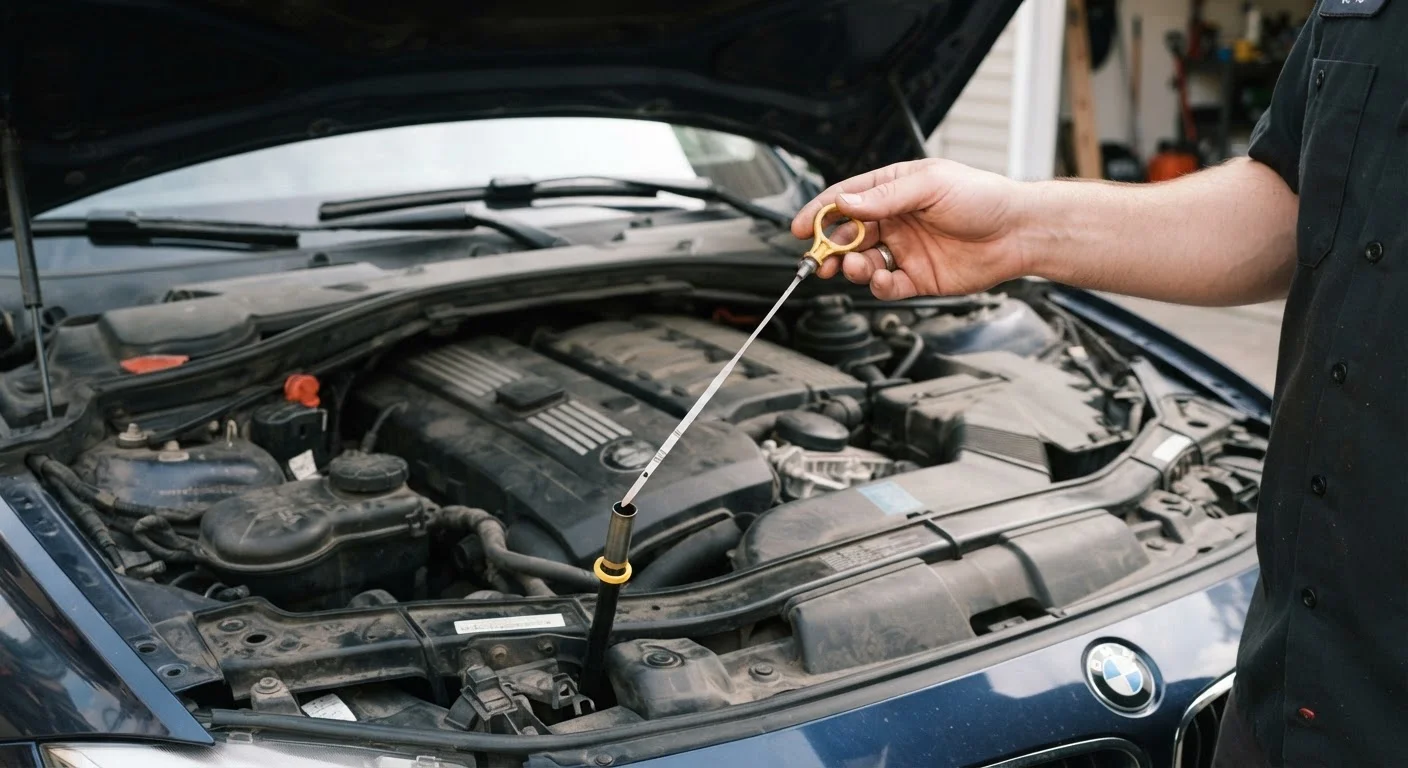
Release the hood latch (usually a lever under the dashboard on the driver's side), then lift the hood and secure it with the prop rod if your vehicle has one. The dipstick is a long, thin metal loop or handle — often bright yellow or orange — protruding from the engine block. Your owner's manual includes a diagram if you cannot locate it immediately.
Pull out the dipstick and wipe it clean
Grip the handle and pull the dipstick straight out in one smooth motion. The oil on it at this stage is not a reliable reading — it may have splashed during driving. Lay the dipstick flat against your rag and wipe it thoroughly from handle to tip, removing all oil residue.
Reinsert and remove the dipstick for a true reading
Slide the dipstick all the way back into its tube until it seats fully, then pull it out again slowly and hold it horizontally. Look at the tip end — you will see two marks labeled MIN and MAX (or sometimes represented by holes, notches, or hatched zones, depending on the vehicle). The oil line — where the wet surface ends — should fall between those two marks.
Assess the oil level and note the color
Evaluate two things: level and condition.
- Level: Between MIN and MAX is correct. At or below MIN means you need to add oil. Above MAX is also a problem — overfilling can damage engine seals.
- Color: Fresh oil is amber or light brown. Darker brown is normal wear. Black, gritty, or milky-white oil signals that a change — or a mechanic's inspection — is overdue. Milky or foamy oil can indicate coolant contamination, which requires immediate professional attention.
For a deeper explanation of what different oil appearances mean, see what the dipstick is really telling you.
Reinsert the dipstick and close the hood
Once you have recorded your observations, slide the dipstick fully back into its tube — a snug fit prevents oil vapor from escaping. Close the hood firmly until you hear it latch. If you need to add oil, do so now through the oil filler cap (marked with an oil-can icon on top of the engine), adding small amounts at a time and rechecking the dipstick after each addition.
If your oil level keeps dropping between checks — even when there are no visible leaks under the car — that warrants a conversation with a qualified mechanic. Some consumption is normal in high-mileage engines, but significant or sudden drops are worth investigating. For a broader look at all the fluids in your vehicle, your car's fluids at a glance is a useful companion reference.
Low Oil Is Not Something to Delay
If your dipstick shows oil below the minimum mark, do not continue driving long distances before adding oil. Running an engine with insufficient lubrication can cause rapid, irreversible internal damage. If you are unsure how to top up correctly, consult a qualified mechanic promptly.
The content on this site is for informational purposes only and is not a substitute for professional advice. Always consult a qualified professional for guidance specific to your situation.