

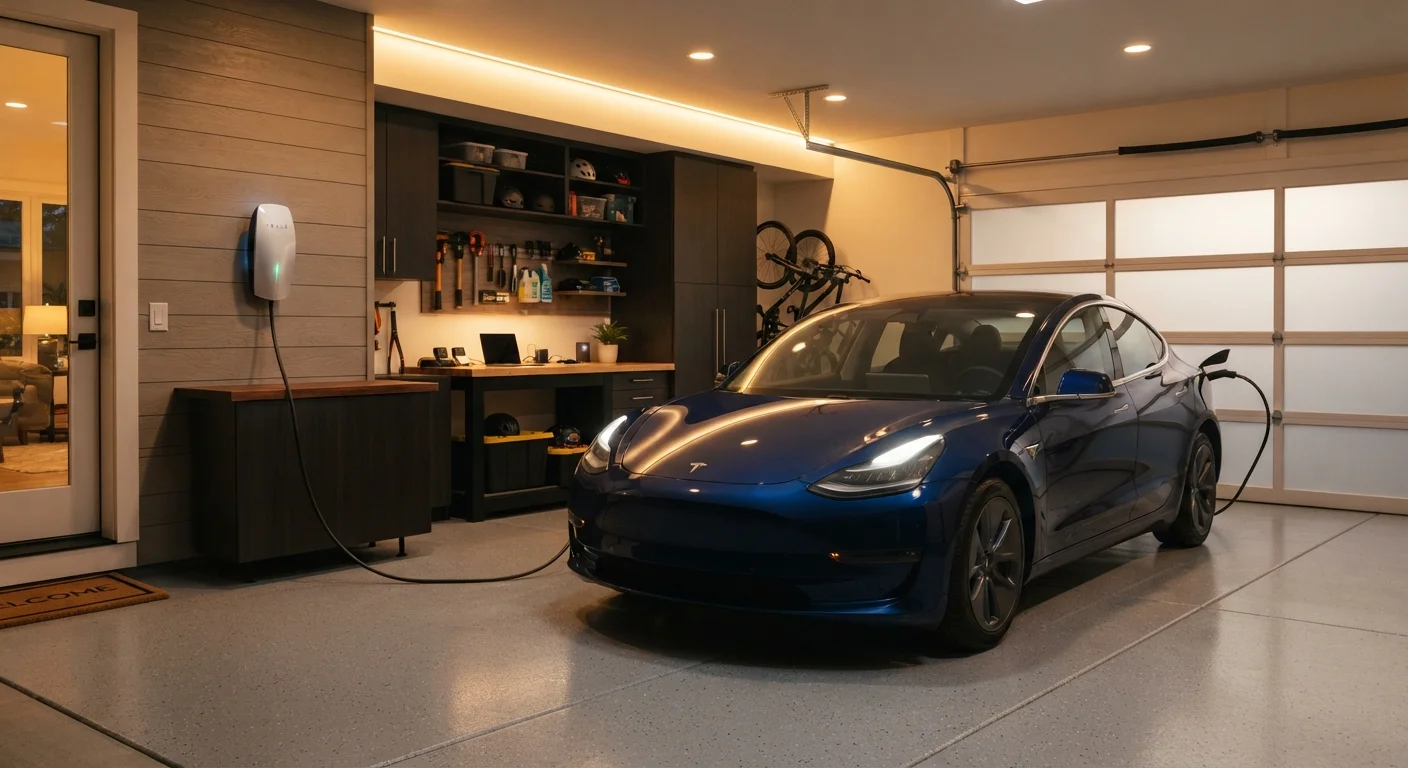
Why Home Charging Is Worth Understanding Before You Buy
One of the most common questions seniors ask about electric vehicles is where and how the car gets charged. Unlike a gas station stop, EV charging most often happens at home — typically overnight, much like charging a smartphone. This shift in routine is simpler than it sounds, but it does involve a few one-time decisions about your home's electrical setup.
Understanding these decisions before you purchase a vehicle allows you to budget accurately, avoid surprises, and ask informed questions at the dealership or with a licensed electrician. If you're still weighing whether an EV suits your lifestyle, the article why seniors often find EVs easier to drive than expected may offer useful perspective.
What you will need
The steps below walk you through the home charging process in plain terms — from understanding the two main charging options to scheduling your installation.
Setting Up and Using Your Home Charger
Licensed Electrician
Evaluates your home's electrical panel capacity and safely installs any new outlet or charging equipment.
Level 2 Home Charging Unit (EVSE)
A wall-mounted device that charges your EV significantly faster than a standard household outlet.
Vehicle Owner's Manual
Specifies your car's maximum charging rate and compatible connector types.
Standard 120V Outlet (Level 1)
An existing household outlet that can provide a slow but functional overnight charge for low-mileage drivers.
Learn the two main home charging levels
Home EV charging comes in two practical forms. Level 1 uses a standard 120-volt household outlet — the kind already in your garage or near your driveway. It adds roughly 3–5 miles of range per hour of charging, which suits drivers who travel fewer than 30–40 miles daily. Level 2 uses a 240-volt circuit (the same voltage as a clothes dryer) and adds 15–30 miles of range per hour, fully recharging most EVs overnight. For a plain-language breakdown of charging speed terms, see the senior-friendly EV glossary.
Check your home's electrical panel capacity
Before purchasing any charging equipment, have a licensed electrician inspect your home's main electrical panel. Older homes — particularly those built before the 1980s — may have panels rated at 100 amps or less, which could be insufficient to support a Level 2 charger alongside normal household loads. A panel upgrade may be required. This is not a DIY task; improper electrical work is a fire hazard and may void your homeowner's insurance.
Review your vehicle's charging specifications
Your EV or plug-in hybrid has a maximum onboard charging rate, measured in kilowatts (kW). Purchasing a charger that exceeds your car's acceptance rate provides no benefit. Open your owner's manual to the charging section and note the maximum AC charging rate and the connector type your vehicle uses. Most current US models use either a standard J1772 connector or — on some newer vehicles — a CCS or proprietary connector. Your electrician and charger manufacturer can help confirm compatibility.
Choose a charger location and mounting spot
Identify where the charging cable will reach your vehicle's charge port when parked in your usual spot. Wall-mounted Level 2 units are typically installed in garages or on exterior walls. Consider cable length (most units include a 20–25 foot cable), accessibility from a standing position, and protection from weather if the unit will be outdoors. Your electrician can advise on the best route for new wiring.
Obtain any required permits
Most jurisdictions in the US require an electrical permit for the installation of a new 240-volt circuit. Your electrician will typically pull this permit on your behalf and arrange for an inspection upon completion. Do not skip this step — uninspected electrical work can create issues with home insurance claims and future property sales. Permit requirements and fees vary by municipality.
Schedule installation and ask the right questions
Once you've selected a charger model compatible with your vehicle, schedule installation with your electrician. Before the appointment, prepare questions: How long will the job take? Will there be any disruption to power in the home? Is the charger rated for outdoor use if needed? What is included in the warranty? Getting clear answers upfront avoids surprises. For broader questions about buying your first EV, the pre-purchase EV checklist is a useful companion resource.
Once your charger is installed and inspected, daily use is straightforward: plug in when you arrive home, and unplug when you leave. Most Level 2 units allow you to set a preferred charging schedule through a simple app or timer, so the car charges during off-peak electricity hours when rates may be lower — though whether off-peak rates apply to you depends on your local utility provider.
For guidance on building smart charging habits into your daily routine, see making the most of an EV in your daily routine. And if you're curious about charging options away from home, how public EV charging networks work covers that clearly as well.
Start With Your Daily Mileage
Before committing to a Level 2 charger installation, honestly assess how many miles you drive on a typical day. Many seniors drive fewer than 30 miles daily, meaning a standard 120-volt outlet may charge enough overnight with no installation needed. This simple calculation can save both time and money.
This article provides general educational information about home EV charging and does not constitute electrical, financial, or purchasing advice. Electrical installation requirements, costs, and any available incentives vary by location and individual circumstances. Always consult a licensed electrician and verify local permit requirements before proceeding with any installation work.
The content on this site is for informational purposes only and is not a substitute for professional advice. Always consult a qualified professional for guidance specific to your situation.