

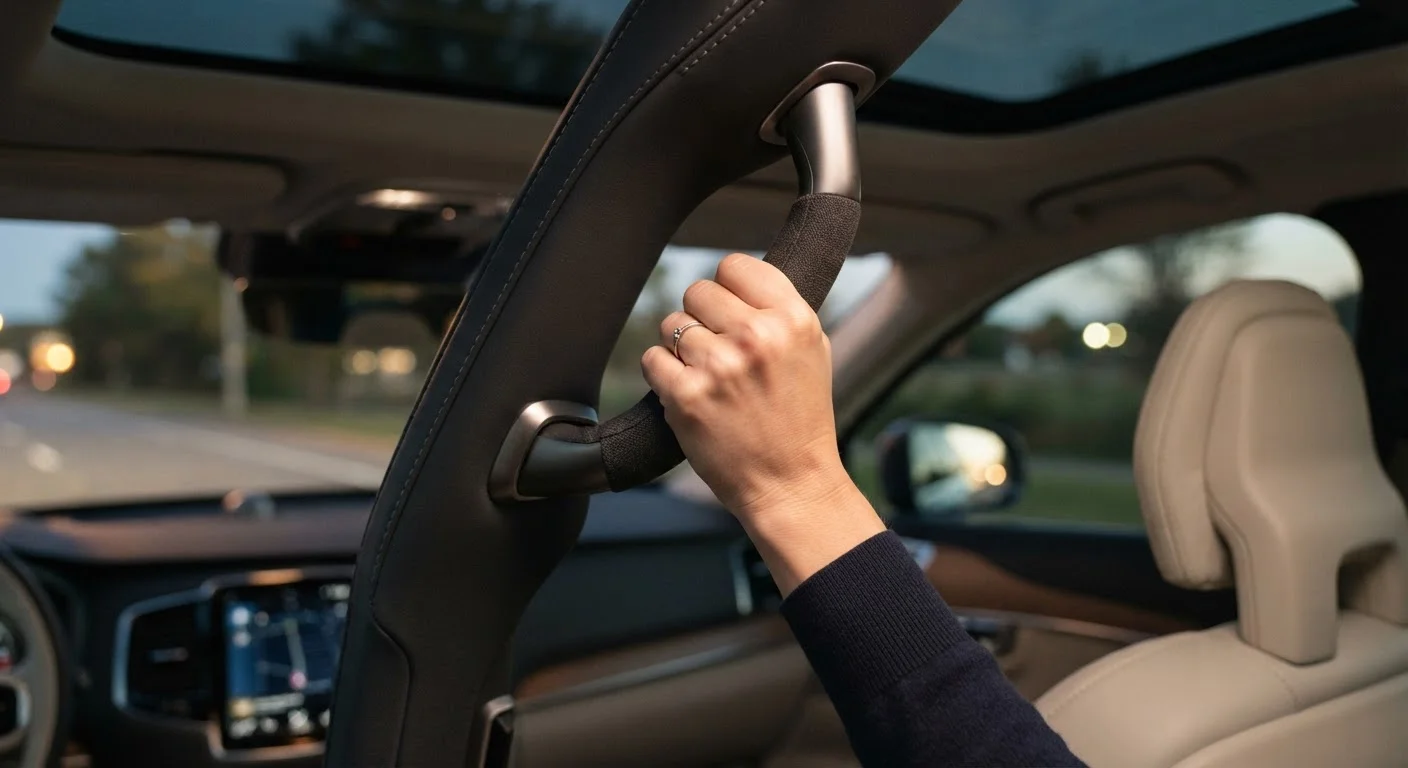
Understanding the Types of Car Grab Handles
Car grab handles fall into two broad categories: portable (removable) and permanent (fixed). Understanding the difference matters before you attempt any installation.
Portable striker-pin handles are the most widely used type. They hook onto the door's existing striker pin — the small metal loop built into the door jamb — and are held in place by the closed door. They require no tools, leave no marks, and can be moved between vehicles. These are the handles this guide primarily addresses.
Strap-style handles loop around structural points inside the door frame. They are also tool-free but less rigid than striker-pin types.
Permanent handles are bolted or drilled into the vehicle's body. They offer greater stability for those who need substantial support, but installation is more involved and carries a higher risk of vehicle damage if done incorrectly.
For a broader look at how these aids compare to other entry-and-exit tools, see our overview of grab handles, assist grips, and swivel cushions.
What you will need
What You Will Need
The tools required depend entirely on the handle type. Portable striker-pin handles typically need nothing beyond clean hands and the handle itself. Strap-style handles may include a small buckle or fastener that a screwdriver can tighten. Only permanent installations consistently require tools beyond basic hand strength.
Phillips-head screwdriver
Used to tighten any screws or bolts on strap-style or bracket-mounted grab handles.
Torque wrench
Ensures bracket bolts are tightened to the manufacturer's specified torque for permanent installations.
Manufacturer's installation guide
Provides model-specific fitting instructions, weight ratings, and safety warnings.
Cleaning cloth
Wipes the door frame or sill area clean before fitting adhesive or friction-based components.
Step-by-Step: Fitting a Portable Grab Handle
Follow these steps for a striker-pin or strap-style portable grab handle. If you are fitting a permanent handle, read the section below on professional installation before proceeding.
Confirm compatibility and weight rating
Before anything else, check that the grab handle is rated to support your body weight, including any forward momentum during entry or exit. Manufacturer documentation will state a maximum load capacity — do not exceed it. Also confirm the handle suits your vehicle's door frame design. Striker-pin handles (the most common portable type) attach to the U-shaped metal pin inside the door latch; verify your door has an accessible striker pin.
Clean the attachment area
Wipe the door frame, striker pin, or sill surface where the handle will attach. Dirt, moisture, or grease can cause slippage. A dry cloth is usually sufficient; avoid chemical cleaners on metal latch components, as residue may degrade plastic parts on the handle itself.
Attach the handle to the door striker or frame
For a striker-pin handle: open the car door fully. Slide the handle's hooked end over the striker pin (the metal U-bolt in the door jamb). Close the door — the pressure of the closed door holds the handle securely in place. The handle should hang outside the vehicle for easy gripping.
For a strap-style handle: loop the adjustable strap around the door frame's inner pillar or seat base according to the product guide, then tighten the strap until there is no slack.
Test stability before full use
With the door closed, apply gradual downward and outward pressure on the handle — similar to how you would use it when standing up from the seat. The handle should not shift, rotate, or make creaking sounds. If any movement is felt, remove the handle and inspect the striker pin and hook for wear or misalignment.
Establish your entry and exit routine
A grab handle is most effective when used consistently and correctly. Grip the handle before shifting your weight, not after you are already off-balance. Practice the motion a few times while still close to the seat. For more context on how grab handles fit into a broader strategy for easier vehicle access, see our guide to getting in and out of the car with less strain.
When Portable Handles Are Enough
Striker-pin grab handles suit most sedans, SUVs, and minivans and can be removed and reused in a different vehicle without leaving any marks. They are often the right first option for seniors who want straightforward, non-invasive support. If your needs change or you require a heavier-duty fixed handle, that upgrade is always possible later.
When to Call a Professional Instead
Not every installation should be a DIY project, and recognising that boundary is itself a form of good judgment.
Consider professional installation if:
- You are fitting a permanently bolted handle that requires drilling into the door pillar or bodywork.
- You have limited grip strength, making it difficult to perform a reliable stability test.
- Your vehicle has side-curtain airbags in the door pillars — drilling in the wrong location can disable or damage these systems.
- You are unsure whether the striker pin on your vehicle can bear the handle's rated load.
A certified mobility equipment dealer (often referred to as a NMEDA-accredited dealer in the US) can assess your vehicle, recommend appropriate hardware, and install it correctly. This route is especially worth considering for anyone relying on a grab handle as a primary mobility aid rather than supplementary support.
Permanent Handles Require More Than a Screwdriver
Handles that bolt directly into the vehicle's body panels or door pillars require drilling into the car's structure. Incorrect placement can hit wiring, airbag sensors, or structural reinforcements. If you are considering a permanently mounted handle, consult a certified mobility equipment dealer or automotive technician before proceeding. Improper permanent installation can void warranty coverage and create new safety hazards.
An Insecure Handle Is Worse Than None
A handle that feels firm at first but fails under load can cause a serious fall — often more injurious than if no handle had been used at all. Inspect the handle before every use for signs of wear, cracking, or loosening. Replace any handle that shows damage, regardless of how minor it appears.
Before fitting any mobility aid, it is also worth reviewing what to check first — our compatibility and safety checklist covers the key questions. And if you want guidance on fitting accessories without risking your vehicle warranty, our article on fitting safety accessories safely walks through the recommended approaches.
This article is for general informational purposes only and does not constitute professional mechanical, medical, or safety advice. Installation requirements vary by vehicle and product. When in doubt, consult a qualified automotive technician or certified mobility equipment specialist.
The content on this site is for informational purposes only and is not a substitute for professional advice. Always consult a qualified professional for guidance specific to your situation.