

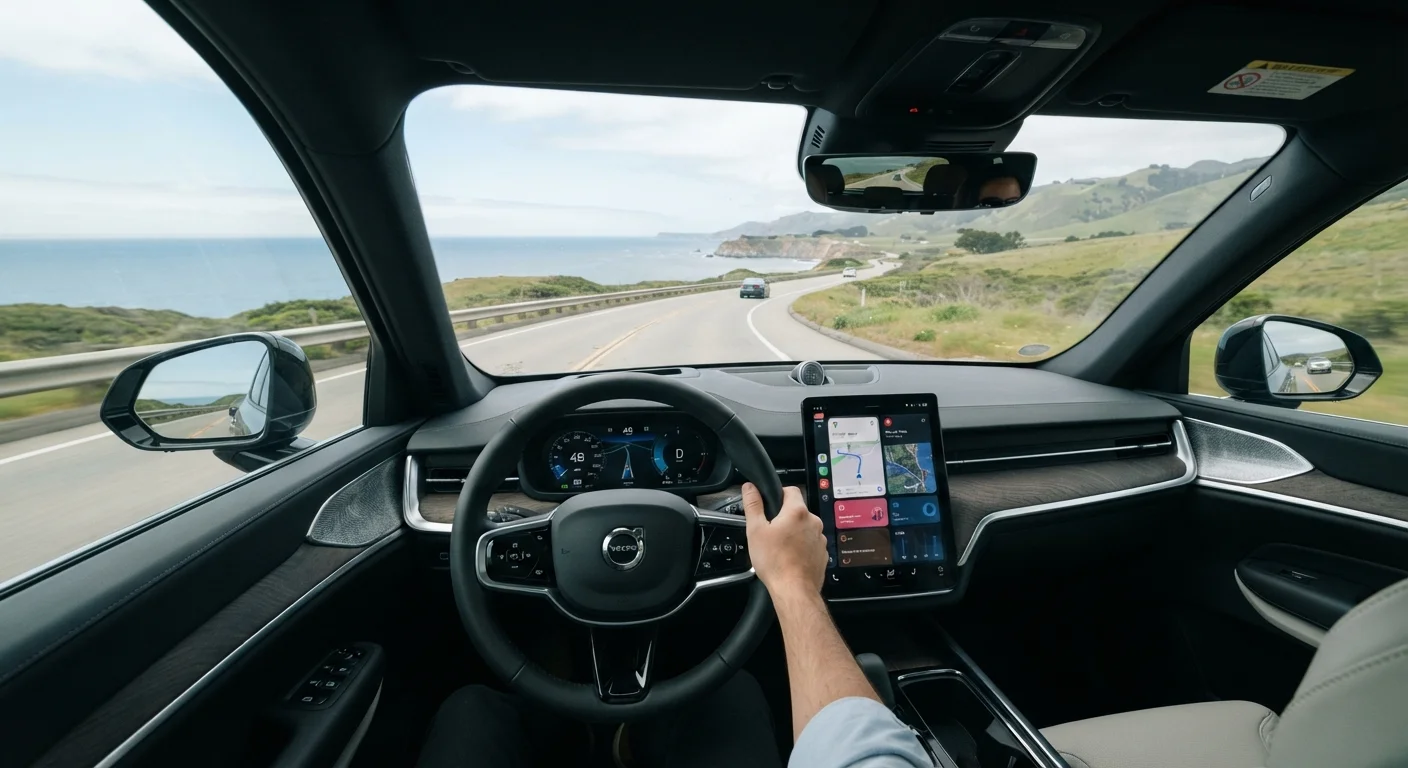
Why Visibility Design Varies So Much Between Vehicles
Automakers balance competing priorities when designing a car's greenhouse — the glass and structural area above the beltline. Aerodynamics, crash-safety regulations, styling trends, and structural rigidity all push against the goal of maximum glass area. The result is that two vehicles in the same price range can have dramatically different real-world visibility characteristics, and those differences are not always apparent from a specification sheet or a walk-around at a dealership.
For older drivers in particular, reduced neck flexibility and a greater reliance on peripheral vision make structural sightlines — not just camera systems — a genuine priority. Research in driver ergonomics consistently identifies poor over-the-shoulder visibility and obstructed front-corner sightlines as factors that increase driving difficulty for older adults. Understanding what to look for puts you in a position to make a genuinely informed choice, rather than assuming all modern vehicles meet the same standard.
It's also worth noting that cabin width interacts with visibility in ways that aren't immediately obvious. Our article on why a wider cabin isn't always easier to drive explores how interior dimensions affect both sightlines and physical strain.
Bring a Companion to the Test Drive
Ask a family member or friend to stand at the edges of your expected visibility zones — just off the front corners and behind the rear bumper — while you remain in the driver's seat. This simple exercise makes abstract blind spots immediately concrete and is far more useful than any specification sheet.
How to Assess Visibility Before and During a Test Drive
What you will need
Tape measure or ruler
Useful for roughly gauging A-pillar width or rear window dimensions when comparing vehicles.
A companion or assistant
Can stand outside the vehicle at blind-spot positions while you assess sightlines from the driver's seat.
Notebook or phone for notes
Record your observations across multiple vehicles so you can compare them accurately after test drives.
Adjust the seat and mirrors to your normal driving position
Before assessing anything, set the seat height, distance, and backrest angle exactly as you would for everyday driving. Visibility varies significantly with seating position — a high seat raises your sightline over the hood but may push your head closer to the roofline, compressing your view of overhead traffic signals. Once seated, adjust all three mirrors: rear-view, driver's side, and passenger's side. Only evaluate what you can see from your correctly adjusted position, not a default factory setting.
Assess the A-pillar width and forward corner visibility
The A-pillar is the structural column on either side of the windshield. Modern safety requirements have made A-pillars significantly thicker than those on vehicles from 20 or 30 years ago, and this creates a genuine blind zone at the front corners — particularly relevant when pulling out of junctions or navigating pedestrian crossings. Look straight ahead, then slowly turn your head toward each front corner. Note whether the pillar obscures your view of a pedestrian-sized object at roughly 10 feet away. Some vehicles route this pillar more toward the door frame rather than into your forward sightline — a meaningful design difference.
Check the beltline height and side window depth
The beltline is the horizontal line running around the car at roughly door-handle height. Higher beltlines — common in many crossovers and SUVs — mean shorter, narrower side windows. This limits how much of the road and adjacent lane you can observe through the glass, particularly at low speeds in parking lots or residential streets. While seated, look directly out of each side window and gauge how much vertical field of view you have. Can you see a low kerb or a child's bicycle? The depth of visible glass matters as much as the mirror.
Evaluate the rear window size and rearward sightline
Turn and look directly through the rear window from the driver's seat. The combination of a steeply raked rear glass, a high parcel shelf, and thick C- or D-pillars (the rear structural columns) can reduce rearward visibility to a narrow strip. This matters most when reversing without camera assistance and when checking for fast-approaching vehicles on a highway. Estimate whether you could reliably see a vehicle or large obstacle 30 feet behind you using the mirror and direct view alone. For more on how camera systems compare to direct sightlines, see our overview of rear-view cameras vs. 360-degree surround-view systems.
Identify blind spots using your mirrors and direct observation
With mirrors correctly set, have a companion walk slowly around the vehicle at a consistent distance of roughly 6–8 feet. Note any position — particularly the rear quarters — where they disappear from both your mirror view and your direct view simultaneously. This is your actual blind spot zone. Some vehicles have dramatically smaller blind zones than others due to differences in mirror size, C-pillar angle, and rear quarter-window design. Aftermarket blind-spot mirrors can help reduce these gaps; our article on blind spot mirrors and how they work explains the options in detail.
Test visibility in motion during a proper test drive
A static assessment in a parking lot is necessary but not sufficient. During a test drive, pay attention to junction turn visibility, lane-change confidence, and how much effort is required to check over your shoulder. Note whether you feel you are guessing about your vehicle's position at the edges or whether the sightlines give you genuine certainty. Fatigue from compensating for poor visibility accumulates over a long drive — so if possible, extend the test drive to 20–30 minutes rather than a brief loop around the block. For context on how sedan body styles perform on these measures, our editorial on sedans worth a close look for comfort and visibility covers several current examples.
Technology Assists, But Doesn't Replace Sightlines
Backup cameras and blind-spot monitoring systems are genuinely useful safety aids, but they rely on sensors and screens that can be obscured, delayed, or misread. Poor structural visibility in a vehicle should not be written off simply because it comes equipped with driver-assist technology. Evaluate the physical sightlines first, then consider what technology adds on top.
Don't Assess Visibility From the Showroom Floor
Walking around a car in a dealer lot gives only a partial picture. A thick C-pillar or steeply raked rear window may look sleek from outside but create a significant blind zone once you're seated at the wheel. Always sit in the driver's seat with the mirrors adjusted to your position before drawing any conclusions.
Once you've completed your assessment, good visibility maintenance continues after purchase. Keeping your wiper blades and washer fluid in proper condition is a basic but often overlooked part of the picture — our practical guide on wiper blades, washer fluid, and clear visibility covers what to check and when. For a broader overview of regular vehicle checks suited to senior drivers, see our routine car checks hub.
This article provides general educational information about vehicle visibility and ergonomics. It is not a substitute for a professional vehicle inspection or personalised driving assessment. Visibility characteristics described are general patterns — individual vehicles vary, and readers should evaluate any specific vehicle in person before making a purchase decision.
The content on this site is for informational purposes only and is not a substitute for professional advice. Always consult a qualified professional for guidance specific to your situation.